Anúncios
You can build a capable, comfortable gaming setup without spending a fortune by prioritizing value, smart upgrades, and space optimization. Focus your budget on a solid GPU or CPU (whichever your favorite games rely on), a reliable monitor with good refresh rate, and ergonomic seating — these give the biggest impact per dollar.
This article walks you through setting a realistic budget, choosing the best affordable hardware, arranging your space for comfort and performance, and using software and accessories to stretch every dollar. You’ll learn how to spot the best bargains, plan future upgrades, and get the most playtime for your investment.
Setting Your Gaming Budget
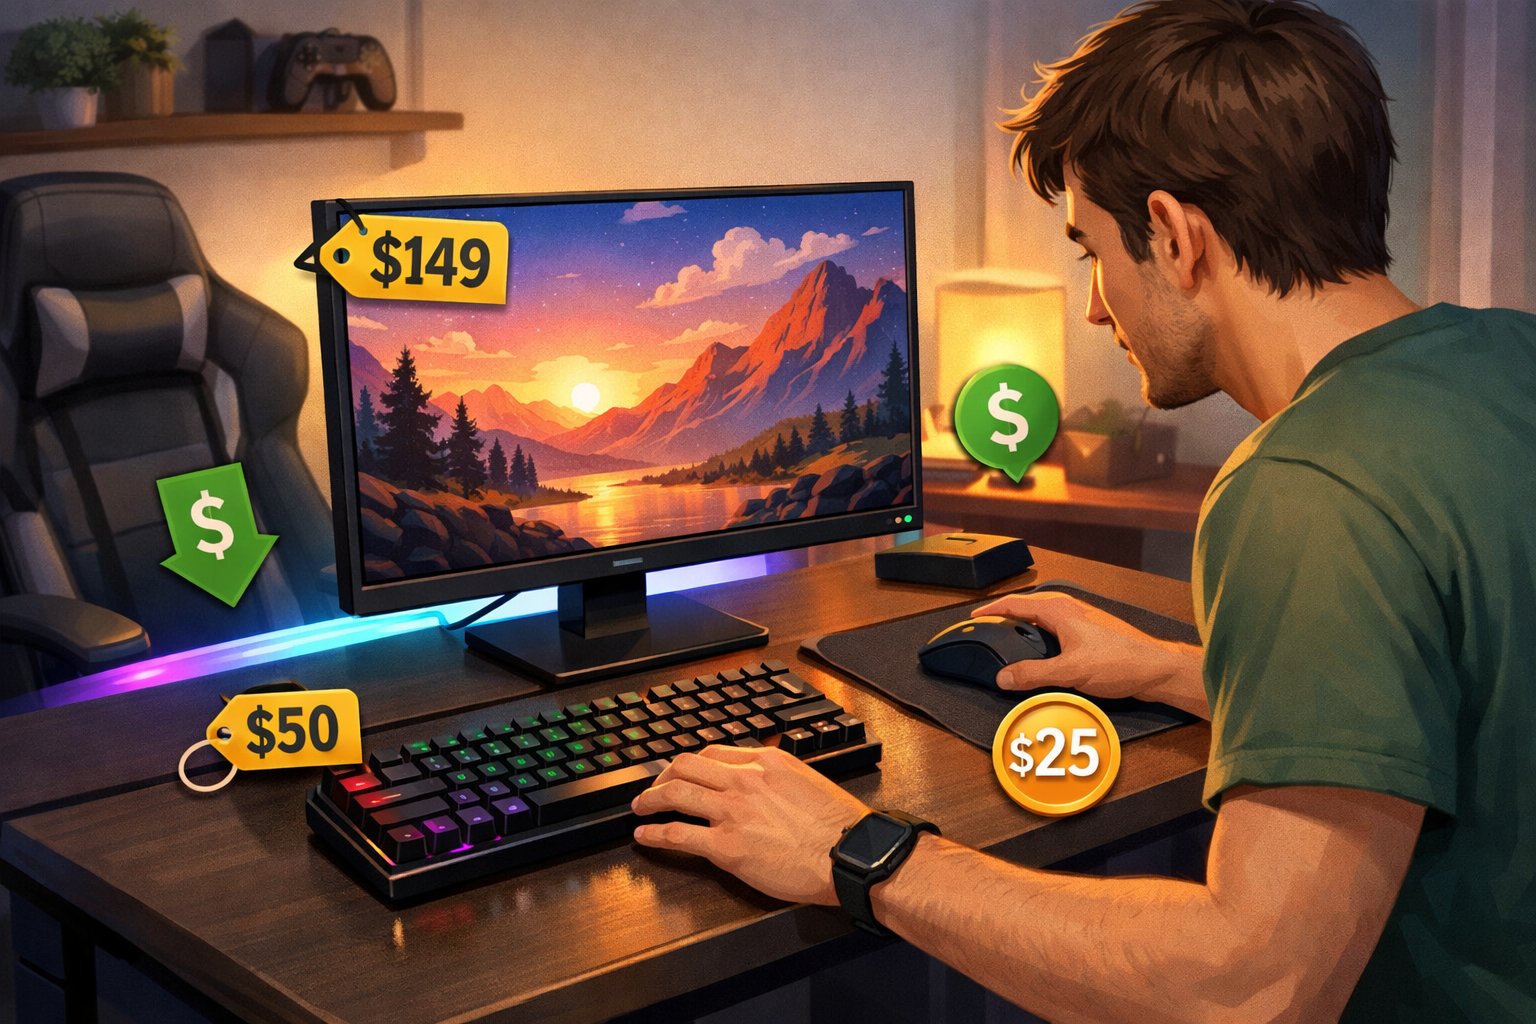
Decide how much you can spend overall and allocate funds to parts that directly affect play. Focus on the CPU/GPU, monitor, and a reliable power supply before thinking about RGB, peripherals, or flashy cases.
Identifying Essential vs. Optional Components
List essentials first: CPU, GPU (or capable integrated graphics), motherboard, RAM, storage (SSD preferred), power supply, case, and a monitor. These items determine whether games run smoothly and how long your build stays relevant. Allocate at least 60–70% of your core budget here if you want stable performance.
Consider optional items second: mechanical keyboard, gaming mouse, speakers/headset, extra SSDs, custom cooling, RGB lighting, and a premium case. These improve comfort or aesthetics but often have little effect on frame rates. If you need to cut costs, delay peripherals and cosmetic upgrades; buy a basic keyboard and mouse now and upgrade later.
Use a simple budget table to guide choices:
- Essentials: CPU/GPU, Monitor, PSU, RAM, SSD — high priority.
- Nice-to-have: Peripherals, RGB, custom cooling — upgrade later.
Aim to buy used for big-ticket items like GPUs when warranty and condition check out. That lets you spend more on essentials without breaking the bank.
Prioritizing Performance Over Aesthetics
Put raw performance first: a midrange GPU and a solid CPU deliver far more value than an expensive tempered-glass case or synchronized RGB. Target components with real benchmark data for the games you play, not just marketing claims. Prioritize higher refresh-rate monitors only if your GPU can drive those frames.
Invest in a reliable power supply (80+ Bronze or better) and sufficient cooling; a cheap PSU can fry parts and void warranties. Choose a functional case with decent airflow over one with glass panels and built-in lighting. Spend on a fast NVMe SSD for shorter load times before splurging on decorative elements.
When aesthetics matter, plan upgrades in stages: buy a plain but well-ventilated case now and swap panels or add LED strips later. This staged approach keeps gameplay quality high immediately while letting you customize as funds allow.
Choosing Affordable Hardware
Focus on components that give the biggest performance gains per dollar: CPU/GPU balance, refresh rate vs. resolution, and durable peripherals with good warranties. Prioritize upgrade paths and compatibility to stretch your budget over years.
Selecting the Right PC or Console
Decide between a used or new build based on games you play. For PC, balance a midrange CPU (e.g., Ryzen 5 5600 or Intel i5-12400) with a GPU like an RTX 3050/4060 or RX 6600/7600 for 1080p60–1440p60 gaming. Buy a B450/B550 or B660 motherboard that supports one upgrade generation above your current chip. Pair with 16 GB DDR4/DDR5 (3200–3600 MHz for Ryzen) to avoid bottlenecks.
Consider consoles if you want simplicity and best value for multiplatform titles. A used PS5 or Xbox Series S buys modern performance without PC maintenance. If you plan to upgrade incrementally, favor a small-form-factor PC case and a quality 80+ Bronze power supply around 550–650W.
Use this quick checklist:
- CPU/GPU balance > highest-tier single part
- 16 GB RAM minimum
- Motherboard with at least one M.2 slot and upgradeable CPU support
- 80+ Bronze PSU and a case with good airflow
Budget-Friendly Monitors and Displays
Target a monitor that matches your GPU’s likely frame output. For 60–100 FPS on a budget GPU, prioritize 1080p with 144 Hz for smoother motion. For GPUs that can push 100–140 FPS at 1440p, choose a 1440p 100–144 Hz panel. Avoid 4K unless you have a high-end GPU capable of consistent 60+ FPS.
Panel choice matters: IPS gives better colors and viewing angles; VA offers higher contrast; TN yields fastest response times at lower cost. For most budget gamers, an IPS 1080p 144 Hz or 1440p 100 Hz monitor offers the best value. Look for adaptive sync (FreeSync/G-Sync Compatible) and low input lag (<10 ms). Consider refurbished or open-box models to save 15–30%.
Cost-Effective Peripherals
Key peripherals deliver the most impact: a mechanical keyboard, a responsive mouse, and comfortable headset. For keyboards, choose a tenkeyless or compact layout with entry-level mechanical switches (e.g., Gateron Brown or Cherry MX Red clones) for durability and tactile feedback under $70–90. For mice, aim for sensors like PixArt 3389/3389-equivalents, adjustable DPI, and a weight around 80–100 g for general play.
Headsets should prioritize clear chat mic and strong driver performance; models from HyperX, Corsair, or SteelSeries often balance price and quality under $80–100. For audio fidelity, consider separate desktop speakers or a USB DAC if you value soundscape over headset convenience. Invest in a mouse pad with consistent surface texture to protect sensor tracking.
Quick buying tips:
- Buy wired peripherals to save money and reduce latency
- Prioritize sensor and switch quality over RGB lighting
- Check warranty length and user reviews for reliability
Optimizing Your Gaming Space
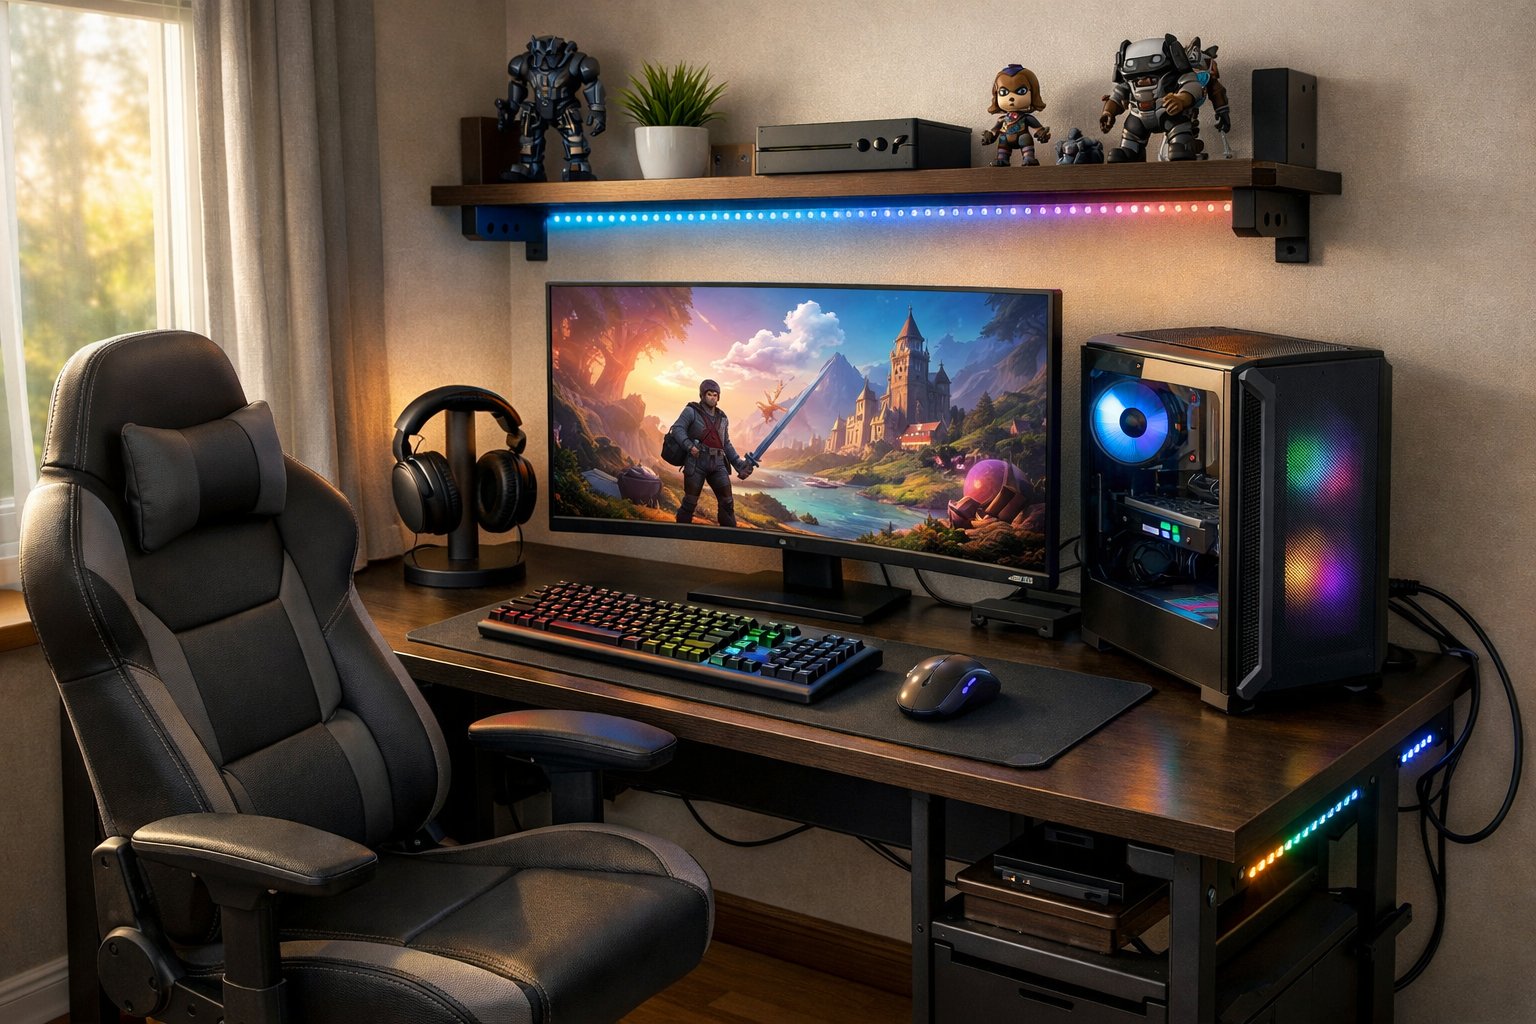
Place your desk where you have at least 3 feet of clearance behind your chair and a nearby outlet for PC, monitor, lamp, and headset charger. Prioritize a stable surface, reachable cable paths, and a dedicated shelf or drawer for controllers and spare cables.
Ergonomic Desk and Chair Options
Choose a desk height that keeps your forearms parallel to the floor when typing—usually 27–30 inches for most adults. If you’re between sizes, get an adjustable or standing desk to fine-tune height; electric lift desks are pricier but save time and keep wiring tidy.
Select a chair with adjustable lumbar support, seat depth, and armrests. Look for breathable mesh or high-density foam; aim for a chair rated for 8+ hours of daily use. If you can’t afford a gaming chair, a used office chair with lumbar pillow and armrest pads performs better than a cheap new “gaming” model.
Position the monitor so the top third of the screen sits at or slightly below eye level and about an arm’s length away. Use a monitor arm to reclaim desk space and allow tilt/swivel adjustments. Add a compact footrest and wrist rest if you experience strain.
Lighting Solutions for Immersion
Use layered lighting: a bright overhead light for situational tasks, a bias light behind the monitor to reduce eye strain, and accent LEDs for atmosphere. Bias lights should be neutral white (4000K–5000K) and placed 6–12 inches behind the monitor; they improve perceived contrast without altering colors.
Place a dimmable desk lamp with adjustable color temperature on the opposite side of your dominant hand to avoid screen glare. For accent lighting, choose addressable RGB strips you can sync to in-game events or music. Keep power and controller units accessible; mount strips under the desk edge or along shelves.
Avoid glossy surfaces near your screen and position lights to prevent reflections. Use cable clips and a small surge protector with individually switched outlets to control lighting zones and protect equipment.
Maximizing Value With Software and Accessories
You can stretch your budget most by choosing free or heavily discounted software and buying accessories that add real comfort or performance. Prioritize sources that legally provide games and accessories that solve specific needs, like noise reduction or better input precision.
Free and Discounted Game Sources
Look to reputable stores and platforms that regularly offer free titles or deep discounts. Epic Games Store gives away at least one free game weekly; add these to your library immediately. Steam seasonal sales (Summer, Winter, Autumn) drop prices up to 90% on older and indie titles—use the wishlist and set price alerts with tools like CheapShark or IsThereAnyDeal.
Explore subscription services for value: Xbox Game Pass for PC/Console provides hundreds of titles for a monthly fee often cheaper than buying several full-price games. Humble Choice bundles DRM-free and Steam-key games while sending a portion to charity. Don’t ignore indie storefronts like itch.io, where pay-what-you-want bundles and game jams yield unique, low-cost experiences.
Finally, check legitimate giveaways from publishers’ social channels, community hubs like Reddit’s r/GameDeals, and bundle sites during charity or seasonal promotions. Avoid pirated copies—updates, online play, and platform perks depend on legitimate ownership.
Affordable Audio Solutions
You don’t need a $300 headset for clear in-game sound and chat. Focus first on fit, mic quality, and driver type. Wired headsets often deliver better audio-per-dollar and zero latency; look for models with detachable boom mics (e.g., HyperX Cloud Stinger, Corsair HS50). If you prefer wireless, prioritize battery life and low-latency tech like low-latency USB dongles over Bluetooth for competitive play.
Consider separate components: an inexpensive pair of over-ear headphones + a USB microphone (Blue Snowball, Samson Q2U) improves voice clarity for streaming and team chat at similar total cost. Add a simple DAC/amp (Fiio K3) only if your headphones need it. For immersive sound on a budget, enable Windows Sonic or Dolby Atmos for Headphones (often free trial) before upgrading hardware.
Use foam ear pads or a headband cushion to improve comfort cheaply. Buy a braided cable and spare ear pads to extend lifespan. For communal or multiplayer setups, a low-cost soundbar can provide room audio without clumsy PC speaker setups.
Upgrades and Future-Proofing on a Budget
Focus on a few high-impact parts and simple maintenance to extend performance without large upfront costs. Prioritize upgrades that give the most measurable gains for money and that swap cleanly into your existing system.
Smart Component Upgrades
Upgrade your GPU only when it becomes the bottleneck for your target games or resolutions. Look for last-generation GPUs (e.g., RTX 30/40-series used or discounted) that match your monitor’s resolution and refresh rate; this avoids paying for unused horsepower.
If your CPU limits frame times in CPU-heavy games, choose a compatible mid-range CPU with good single-thread performance and reuse your existing motherboard if socket-compatible. Alternatively, upgrade to a better CPU cooler to sustain performance under load.
Increase RAM to at least 16 GB with a matched kit and proper speed for your platform (e.g., 3200–3600 MT/s for mainstream Ryzen). Swap HDDs for an NVMe SSD for faster load times; a 1 TB NVMe often offers the best price-to-performance.
Check power supply wattage and certification before any GPU upgrade; a quality 80+ Bronze or better PSU of adequate wattage avoids instability. Buy used parts from reputable sellers, inspect returns policies, and prioritize parts with remaining warranty.
Maintenance and Longevity Tips
Keep drivers and firmware current to maintain compatibility and performance gains. Update GPU drivers, motherboard BIOS only when needed for compatibility, and SSD firmware to fix bugs and improve longevity.
Manage thermals: clean dust filters, reapply thermal paste every 2–3 years if temperatures rise, and ensure good case airflow with two or three quality fans. Monitor temps with tools like HWMonitor or MSI Afterburner and set fan curves to balance noise and cooling.
Protect components with a surge protector or UPS to avoid damage from power spikes. Regularly back up important profiles and game saves to cloud or external storage to prevent data loss during hardware swaps.